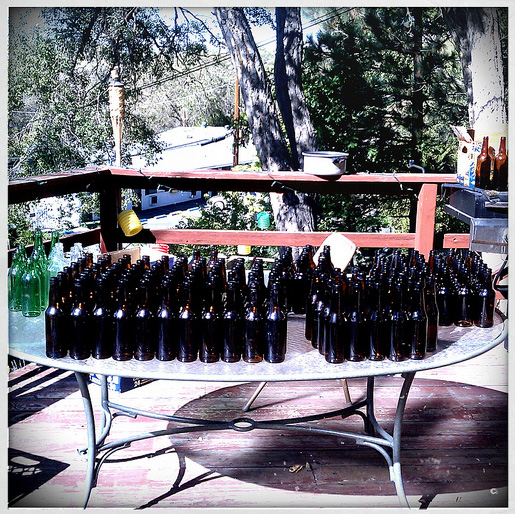
As I continue to seek work and search for things to do, I come to realize that a well-organized bottling system would be a nice addition to our brewing set-up.
 With that end in mind, I organized all of the bottles based on type.
But, allow me to back up a few steps. The first thing I did was to put all of the bottles in an Oxyclean and water solution and wipe their residual label glue off.
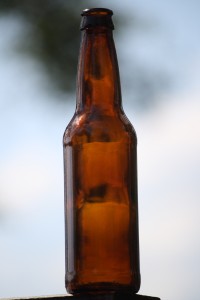
To my surprise, the lion’s share of the bottles are exactly the same. These bottles, I call normal:
These normal bottles have been, so far, from domestic beers.
We do have a few exceptions to the domestic-bottle rule, the most prominent for this house being Kona Longboard.
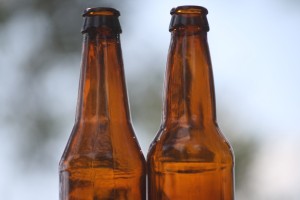
The Konas are still nice for a couple of reasons. Although the bottle is different than the majority, the bottles themselves have no brewery-specific markings.
This is a marked difference from Widmer (W design stamped at the top,) Fat Tire (New Belgium stamped on the top,) Sam Adams (stamped at the top) and Deschutes (hops stamped at the top.)
But we don’t just brew beer here. We brew cider too and cider and beer need different bottles, easily distinguished at first glance. We want to not have to rely on labeling to tell what’s in the refrigerator. So, we decided, cider would be bottled in stumpy and odd-colored bottles.
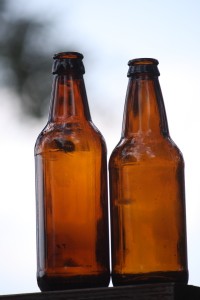
The major stumpy bottle in this area is the Sierra Nevada. The other major is New Castle, both its brown “Werewolf” bottles and its normal, clear bottles.
After we brewed and bottled our first batches, we realized how important it is, or can be, to have clean, standardized bottles. Bottles that are same for the same brew.
Next step: Labels!
